Hairspring Week: Building the Balance Wheel

Building the oscillator begins with assembling the balance wheel.
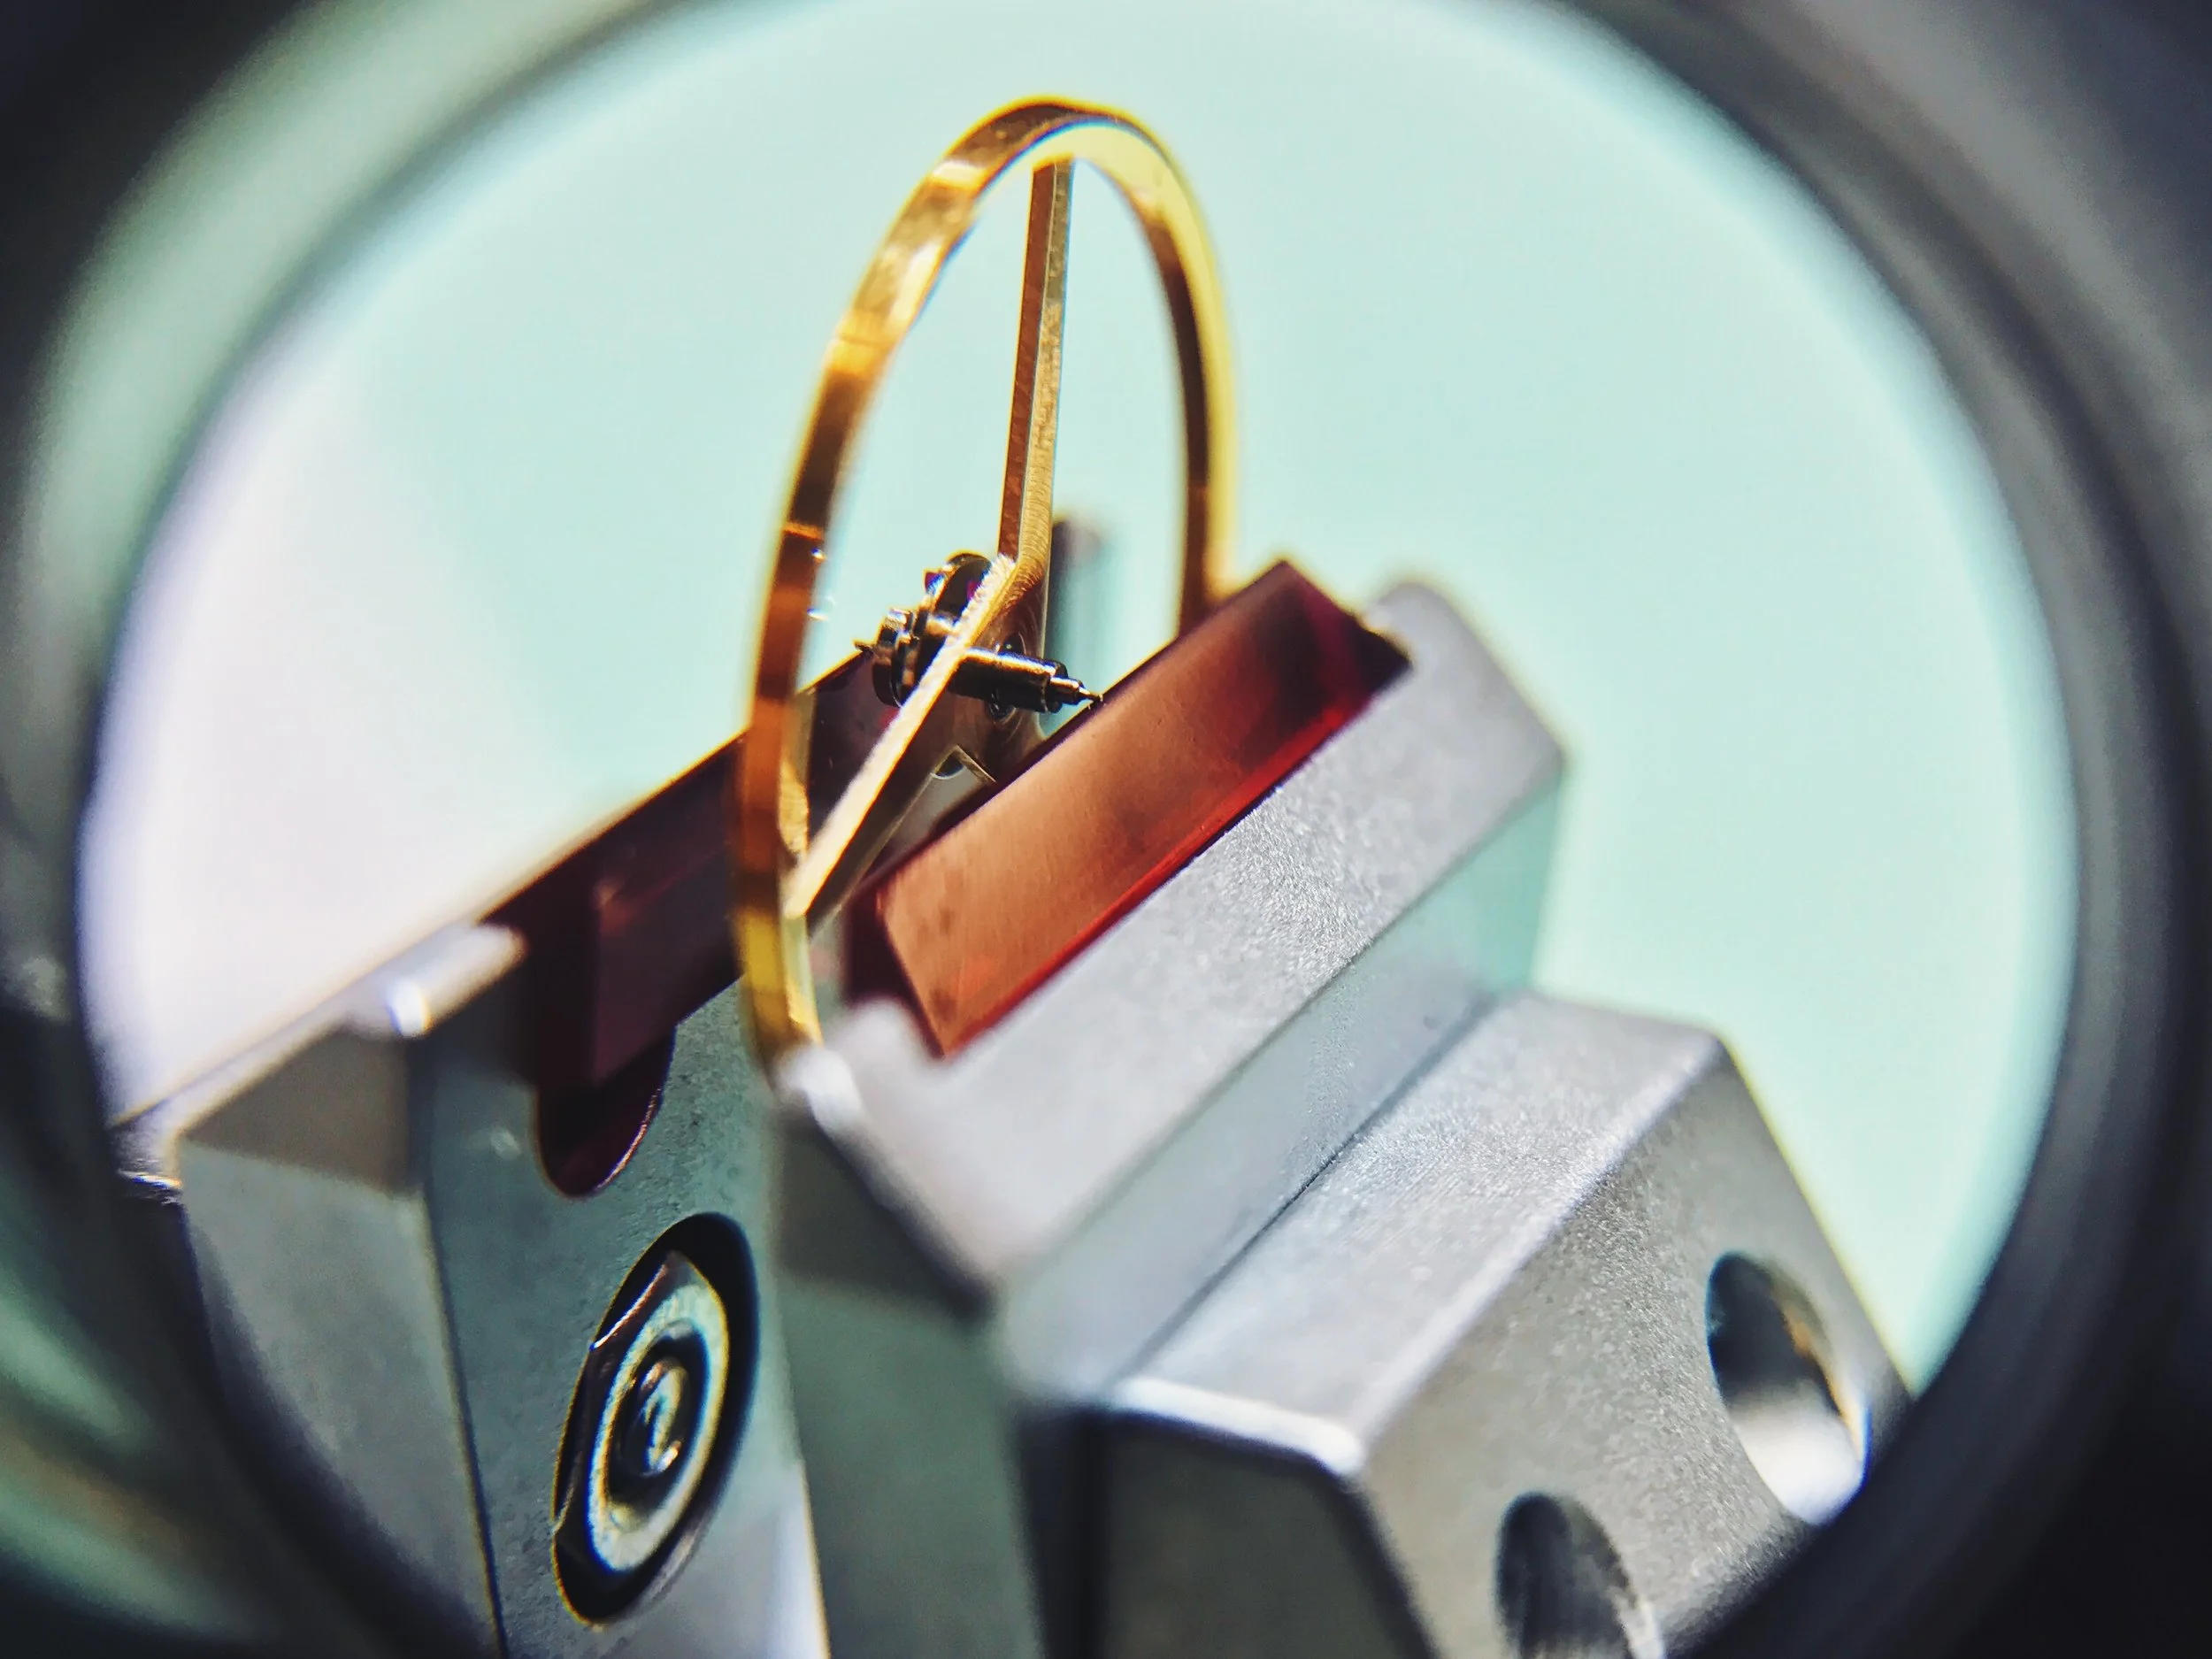
A balance wheel is made of three main components: the balance wheel, balance staff and roller table. The staff rivets to the wheel, and the roller table presses onto the bottom of the assembly.
This is as good a time as any to introduce the staking set. This is one of our most versatile (and expensive) tools—sometimes referred to as the "Swiss Army knife of watchmakers." The staking set includes a base (silver), a base extension (blue) and any number of stakes and anvils (background).
The middle stakes (with the hole) are used to spread a rivet before it's flattened.
The base extension allows any stake to be used as an anvil, greatly expanding the use of the staking set—and reducing the cost of buying extra anvils!
There are hundreds of various stakes that have been made for sets over the years, ranging from highly-specialized to general use. Building an oscillator requires just a few of them, including:
- Seating stake: This flat/donut stake is gently tapped to get the balance wheel flat against the staff.
- Spreading stake: The stake's tapered tip spreads the rivet material outwards to be flattened with a firm whack with a hammer.
- Riveting stake: A flat/donut stake that folds down the rivet material to form the bond between the staff and the wheel, again with a firm hammer strIke.
- Anvil stake: This flat/donut stake holds the top of the balance wheel firmly to reduce any radial motion during the riveting process.
- Roller table stake: This stake is similar to the spreading stake, though the taper exists to press the roller table onto the staff without damaging it, and is gently tapped into place.
The seating stake exists to keep the wheel flat and true on the staff, but hammering on the assembly can cause it to shift. It's time to true the wheel. I've covered this in the past, but let's go over it again!
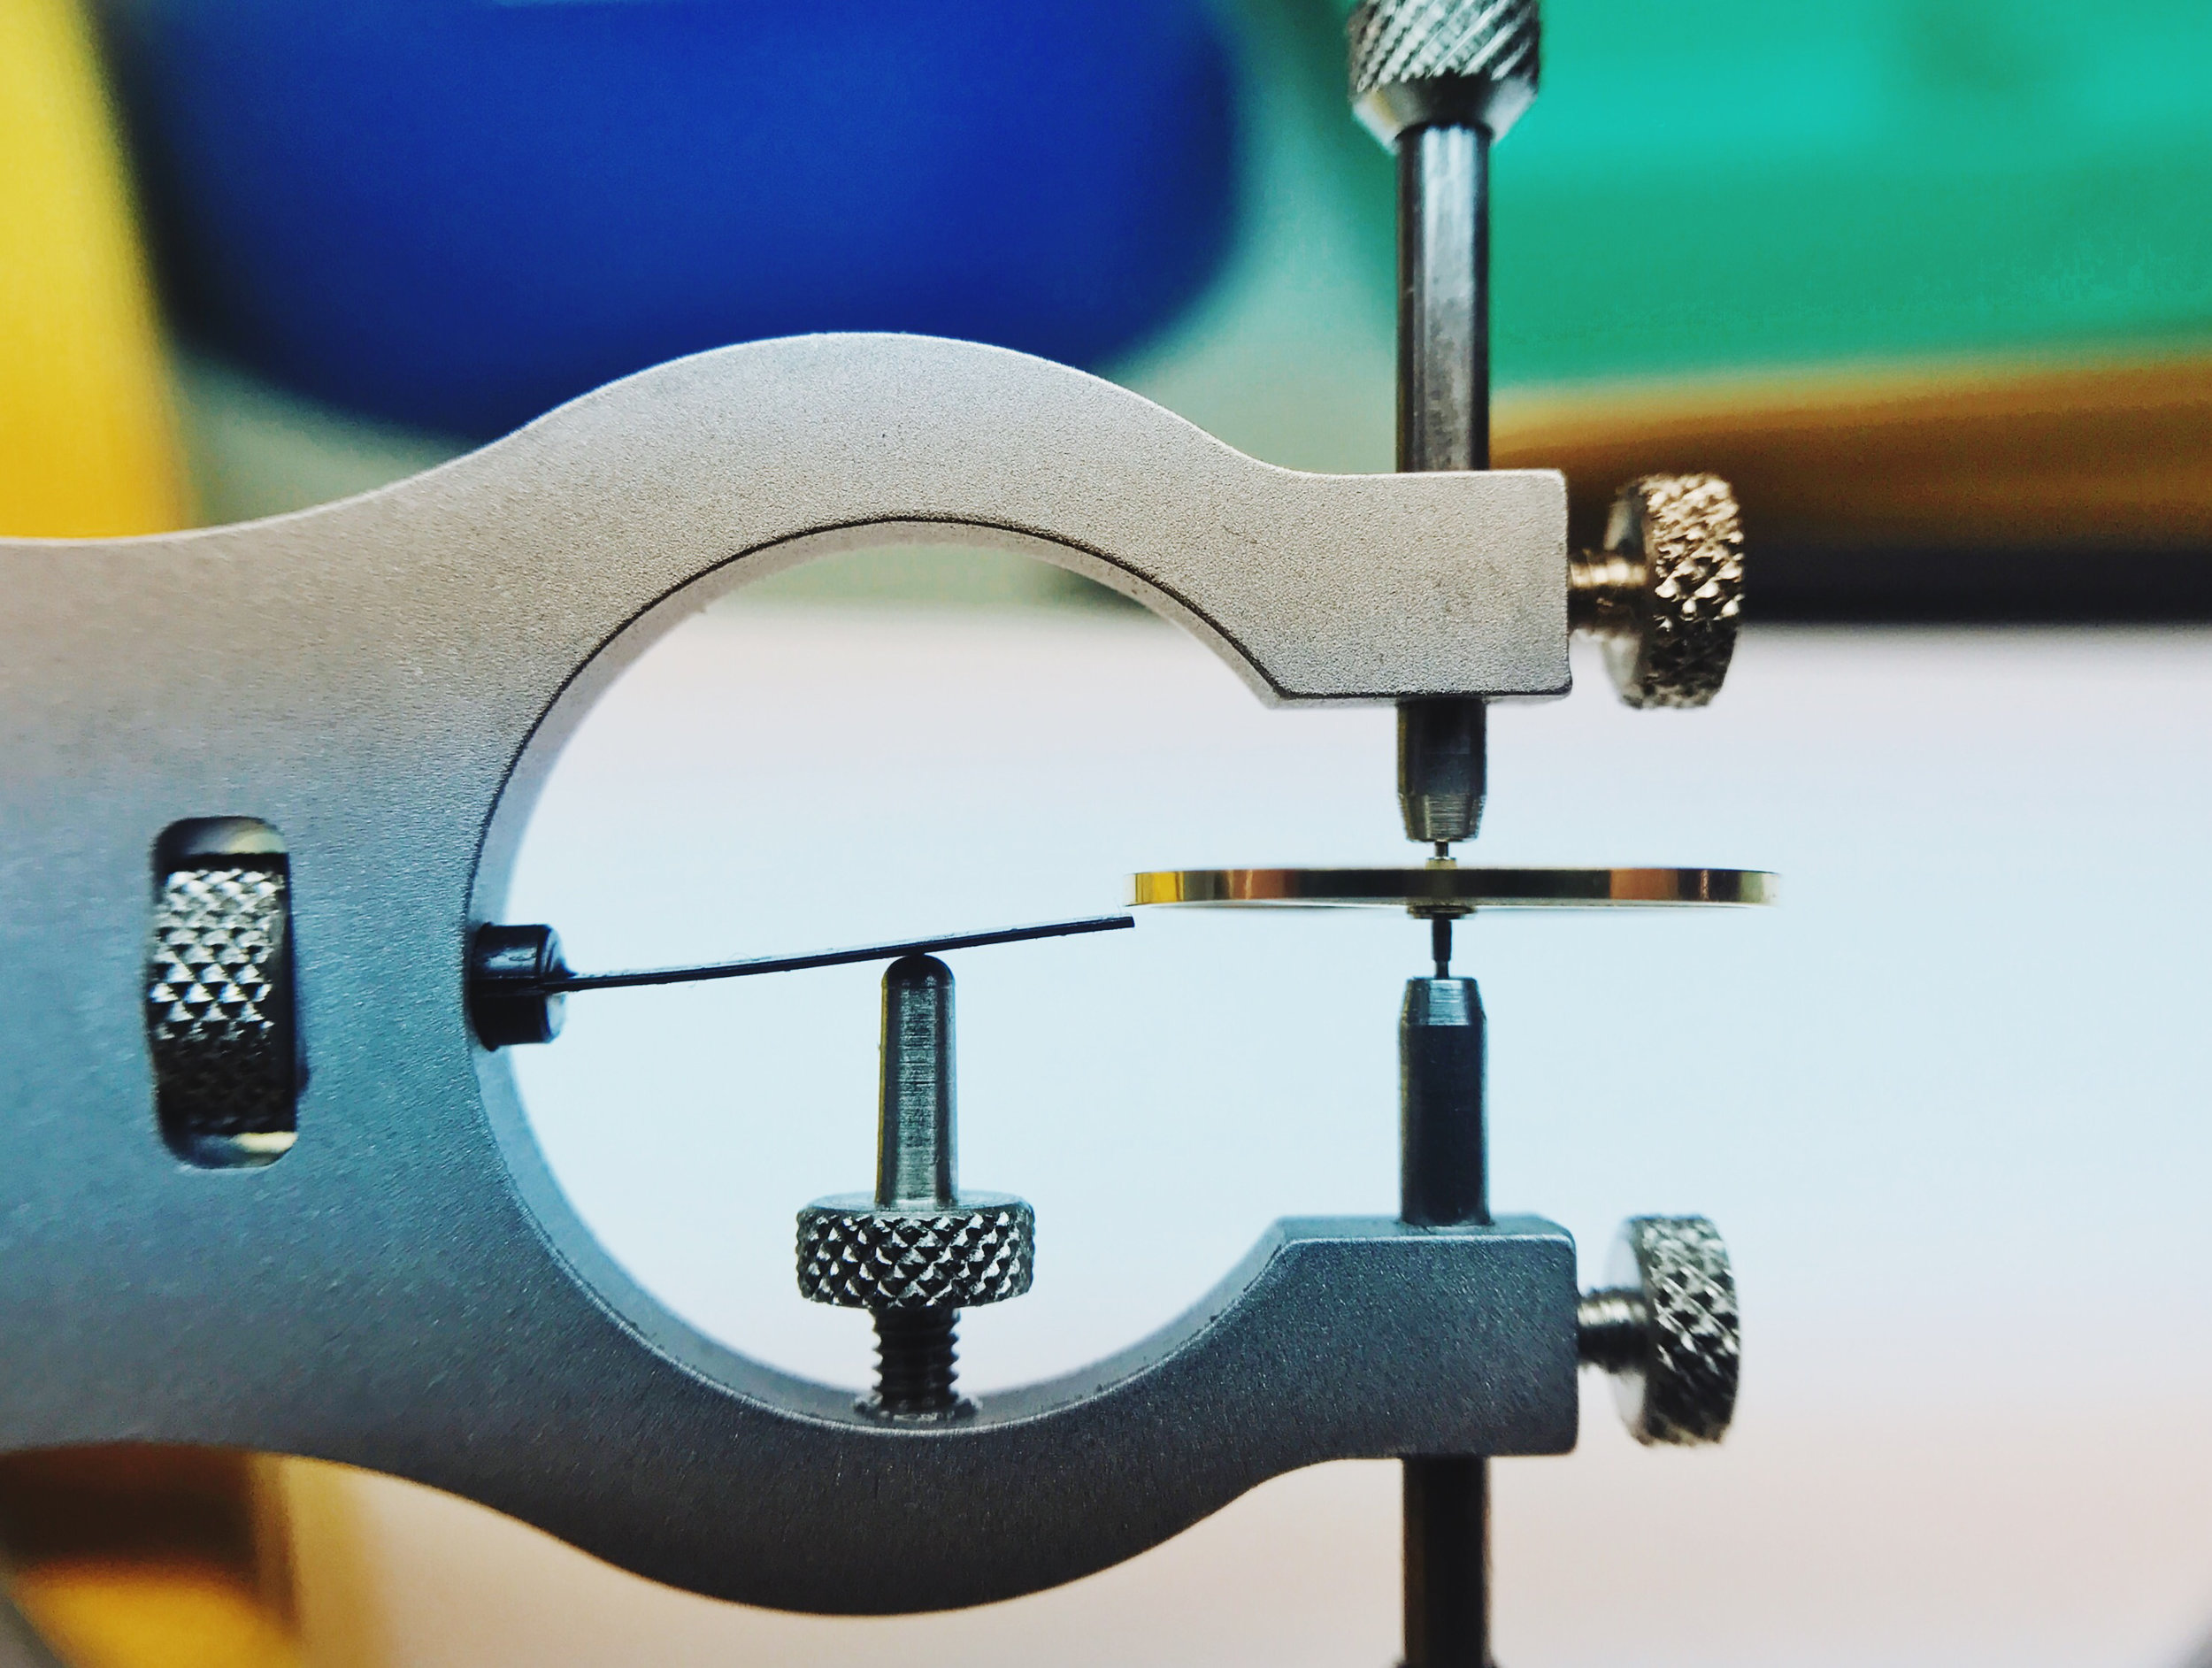
This is one of two truing calipers that we'll use during the oscillator-building process. This is a "lyre" type that holds the wheel in a pair of pivots, with an adjustable trueness indicator.
Nice calipers like this one actually have jewels in the pivots to reduce friction and wear.
The balance wheel is rotated in the pivots by hand, with the blade adjusted to get as close as possible to the rim. The air gap between the wheel and the blade allow you to judge the trueness of the assembly, and it's adjusted rather simply, though effectively. Where the wheel comes closest to the blade, you simply push on the opposite end of the wheel, bending it on the shaft. It seems crude at first, but it works perfectly.
With the wheel trued, it's time to poise it!
Again, I've covered this in the past, but this time I have more pictures, so read on.
The poising process requires a poising tool and a tiny drill. We use a carbide drill bit in a screwdriver, but any tiny screwdriver bit (about 0.5mm or less) will work.
The poising tool consists of a height-adjustable platform with width-adjustable ruby jaws and a bubble level. The level is placed on the jaws during setup, and the height of the three legs can be varied to get it completely even.
The balance wheel pivots rest on the ruby jewels (for minimized friction) and is gently rotated to find low spots. Any low spot must be removed with the drill.
Drilling is delicate, and it's done entirely by eye and intuition. The poising dimples should be centered to the rim of the balance wheel (on the underside, of course!) and you want as few as possible. That means you're only going to be removing a little bit of material at a time, testing, removing more, retesting, et cetera.
Four holes—not my greatest showing. You want to try to only make one, if possible.
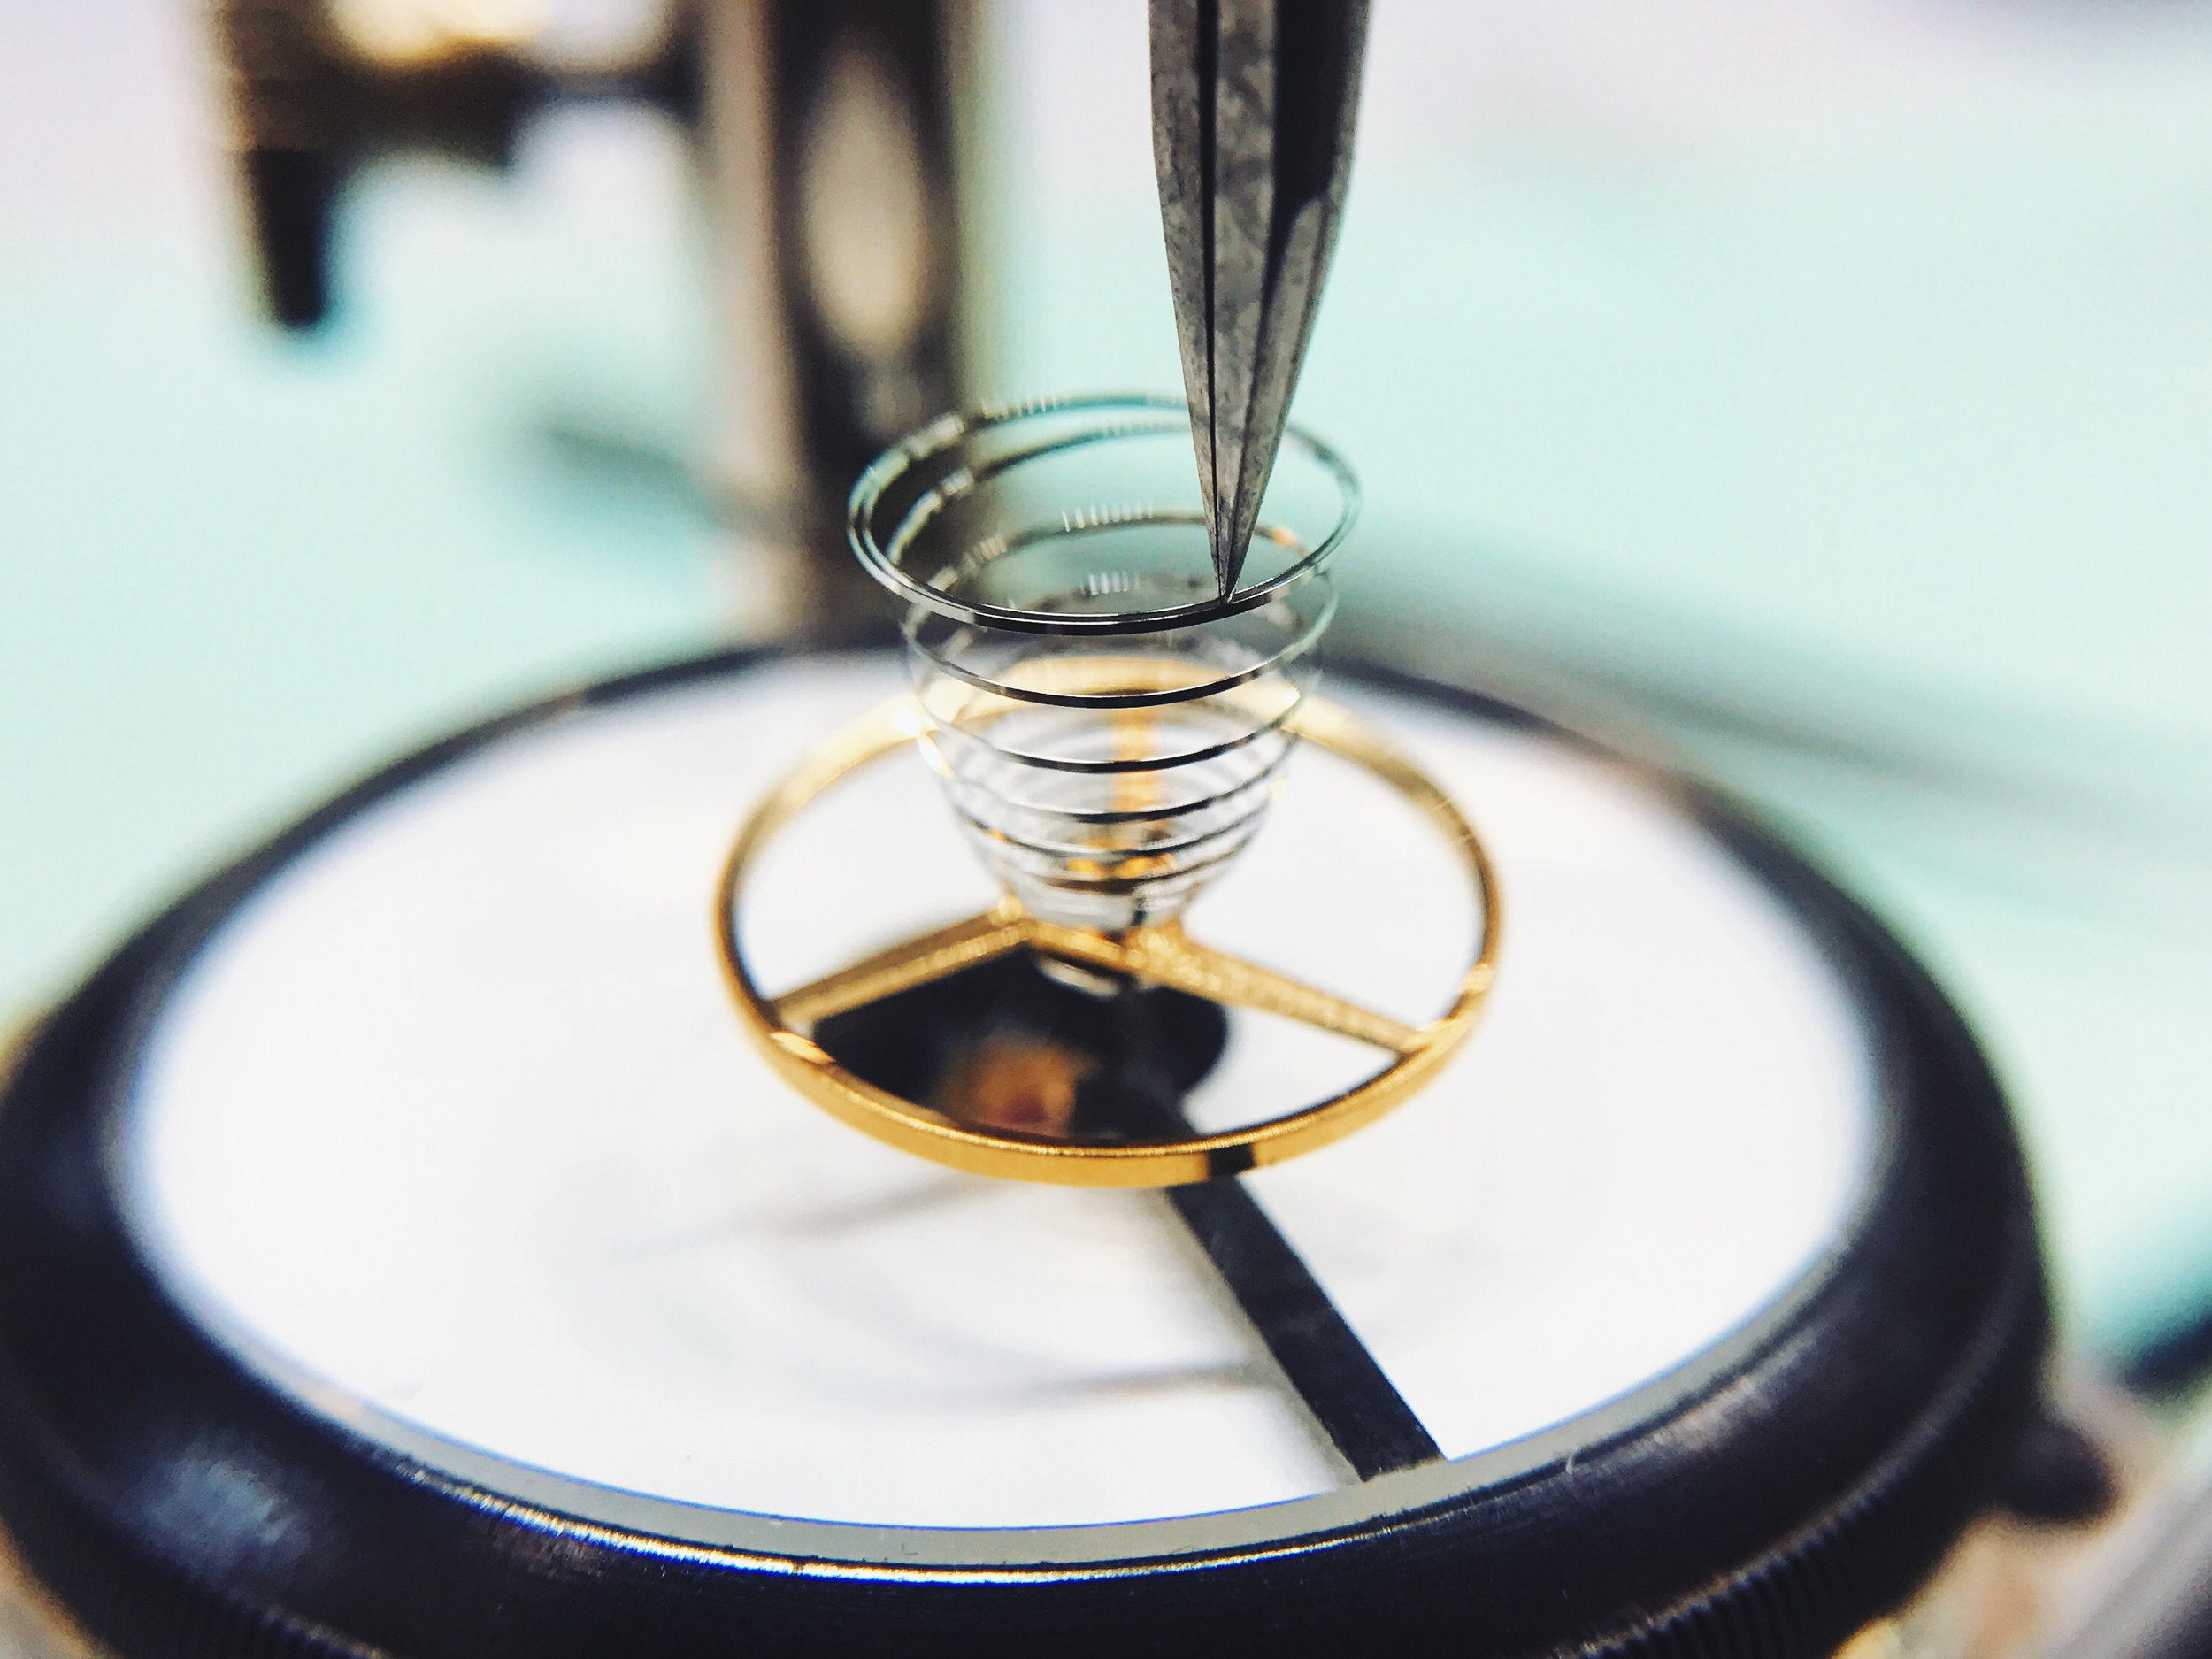
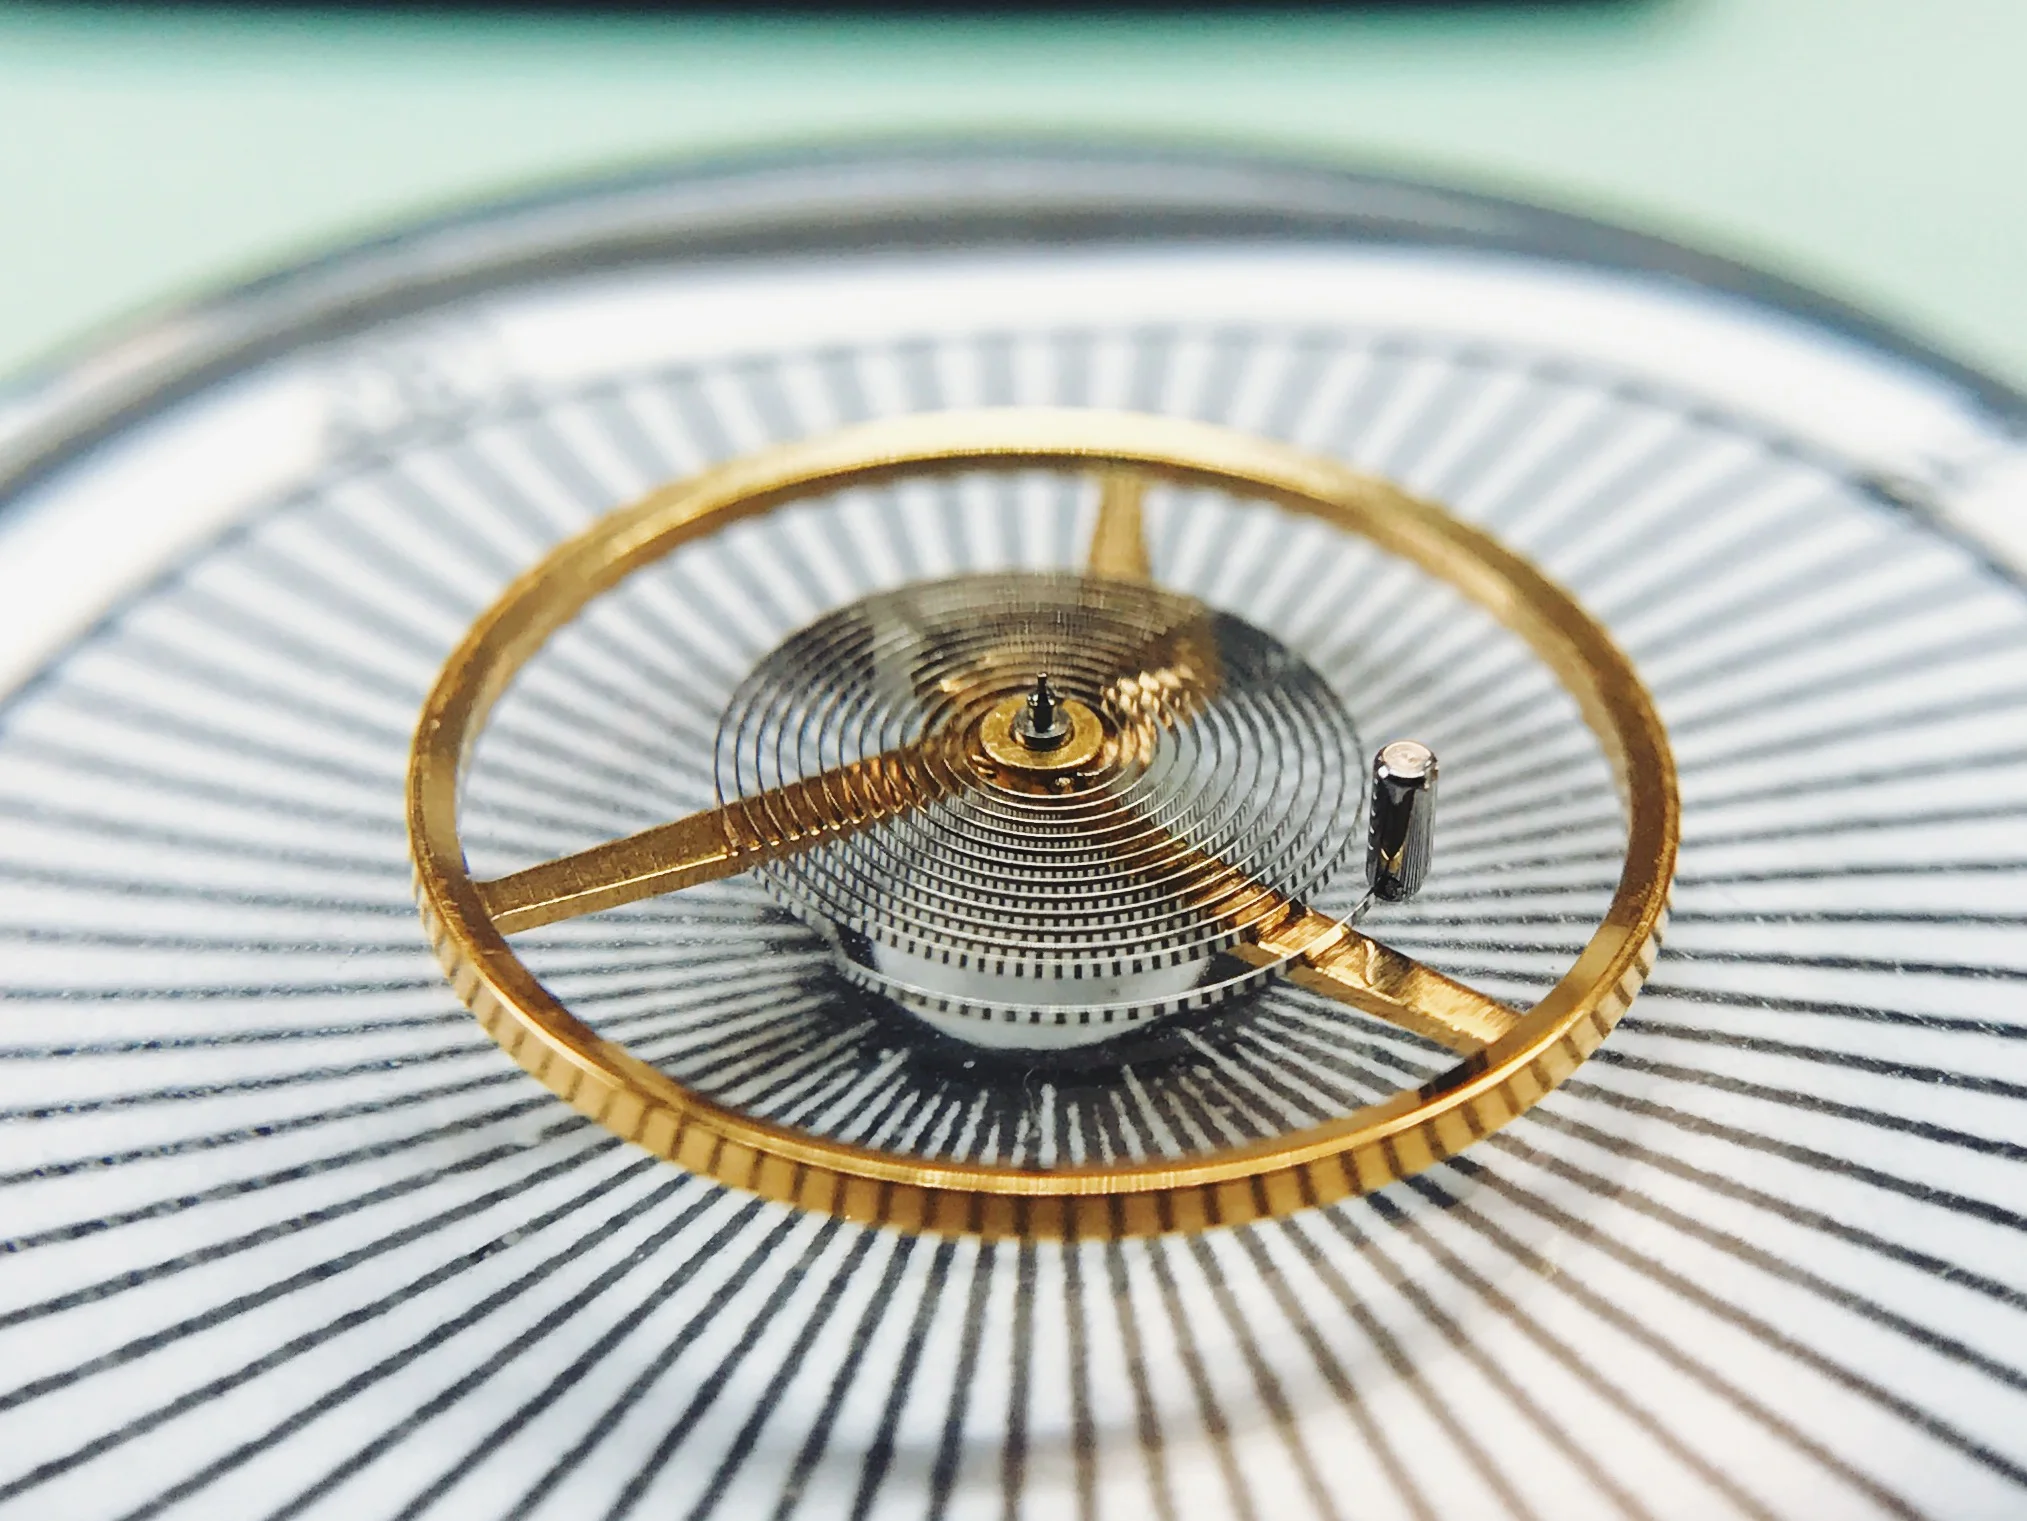
When the wheel no longer has any low spots, it's poised and ready for the next steps: the hairspring itself!
Watchmaking student at the Lititz Watch Technicum, formerly a radio and TV newswriter in Chicago.


