Micromechanics: Exam Prep
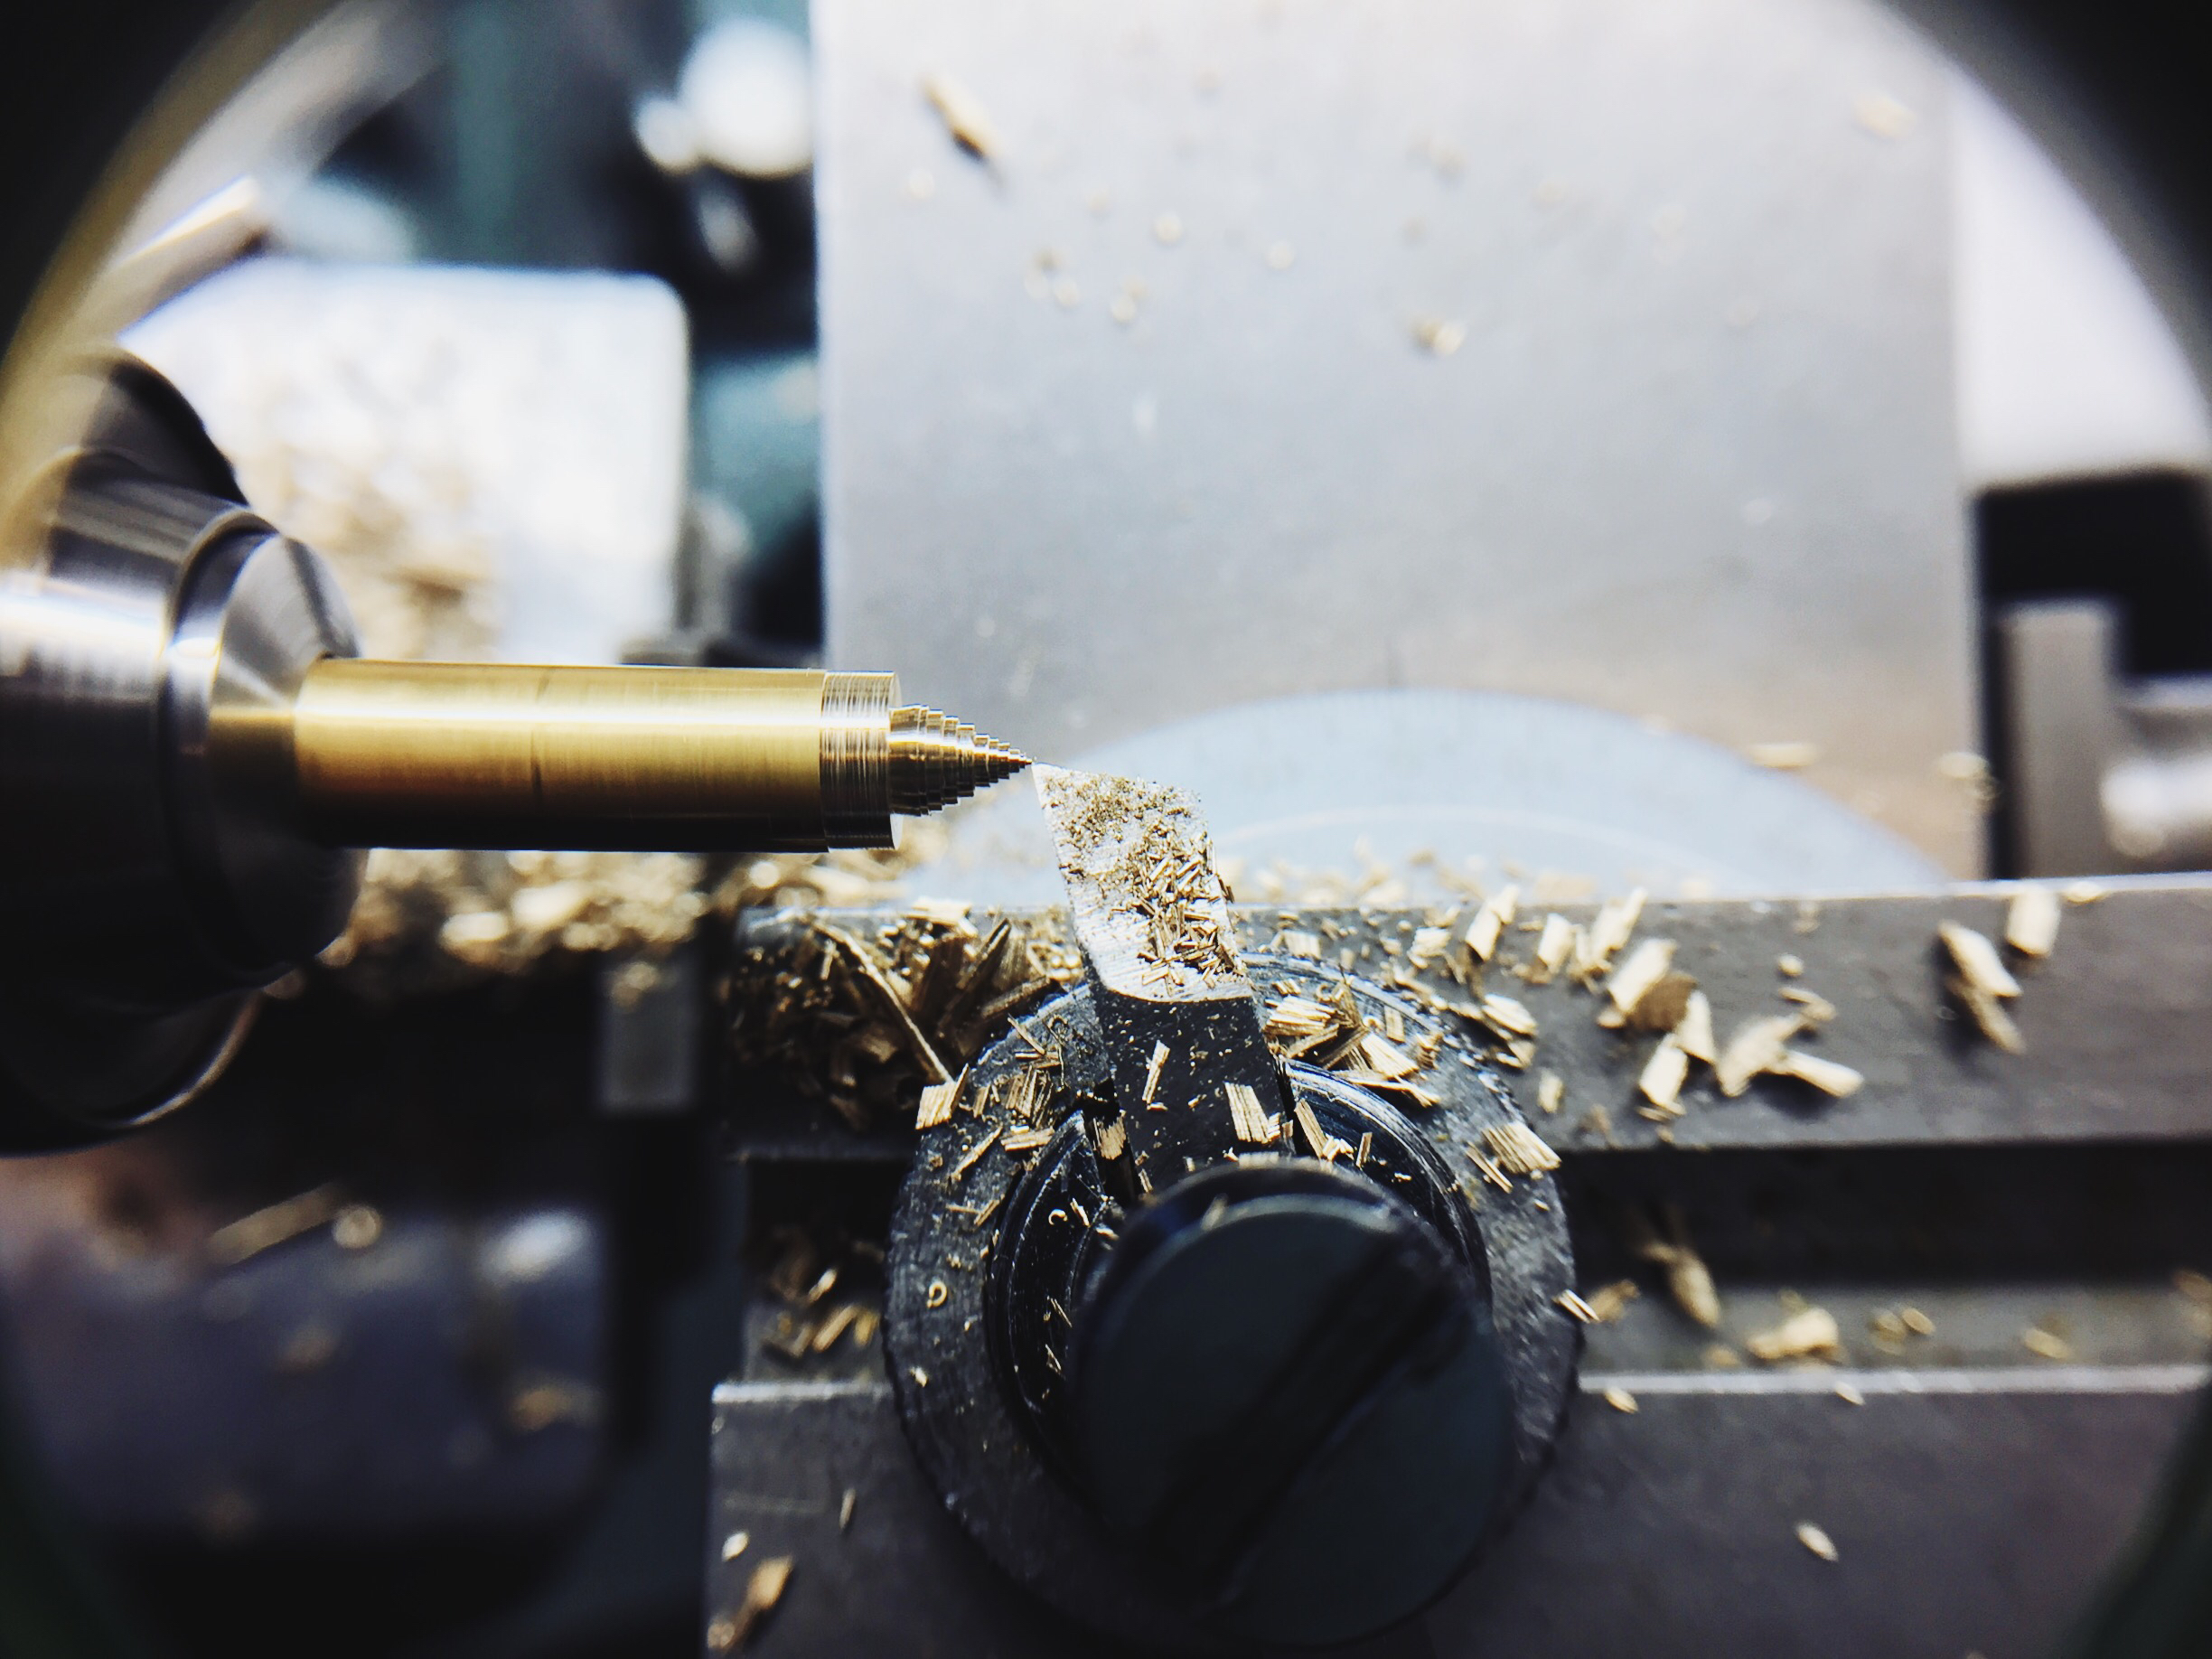
Lathes primarily cut cylinders, but they'll cut all sorts of cones if you let them.
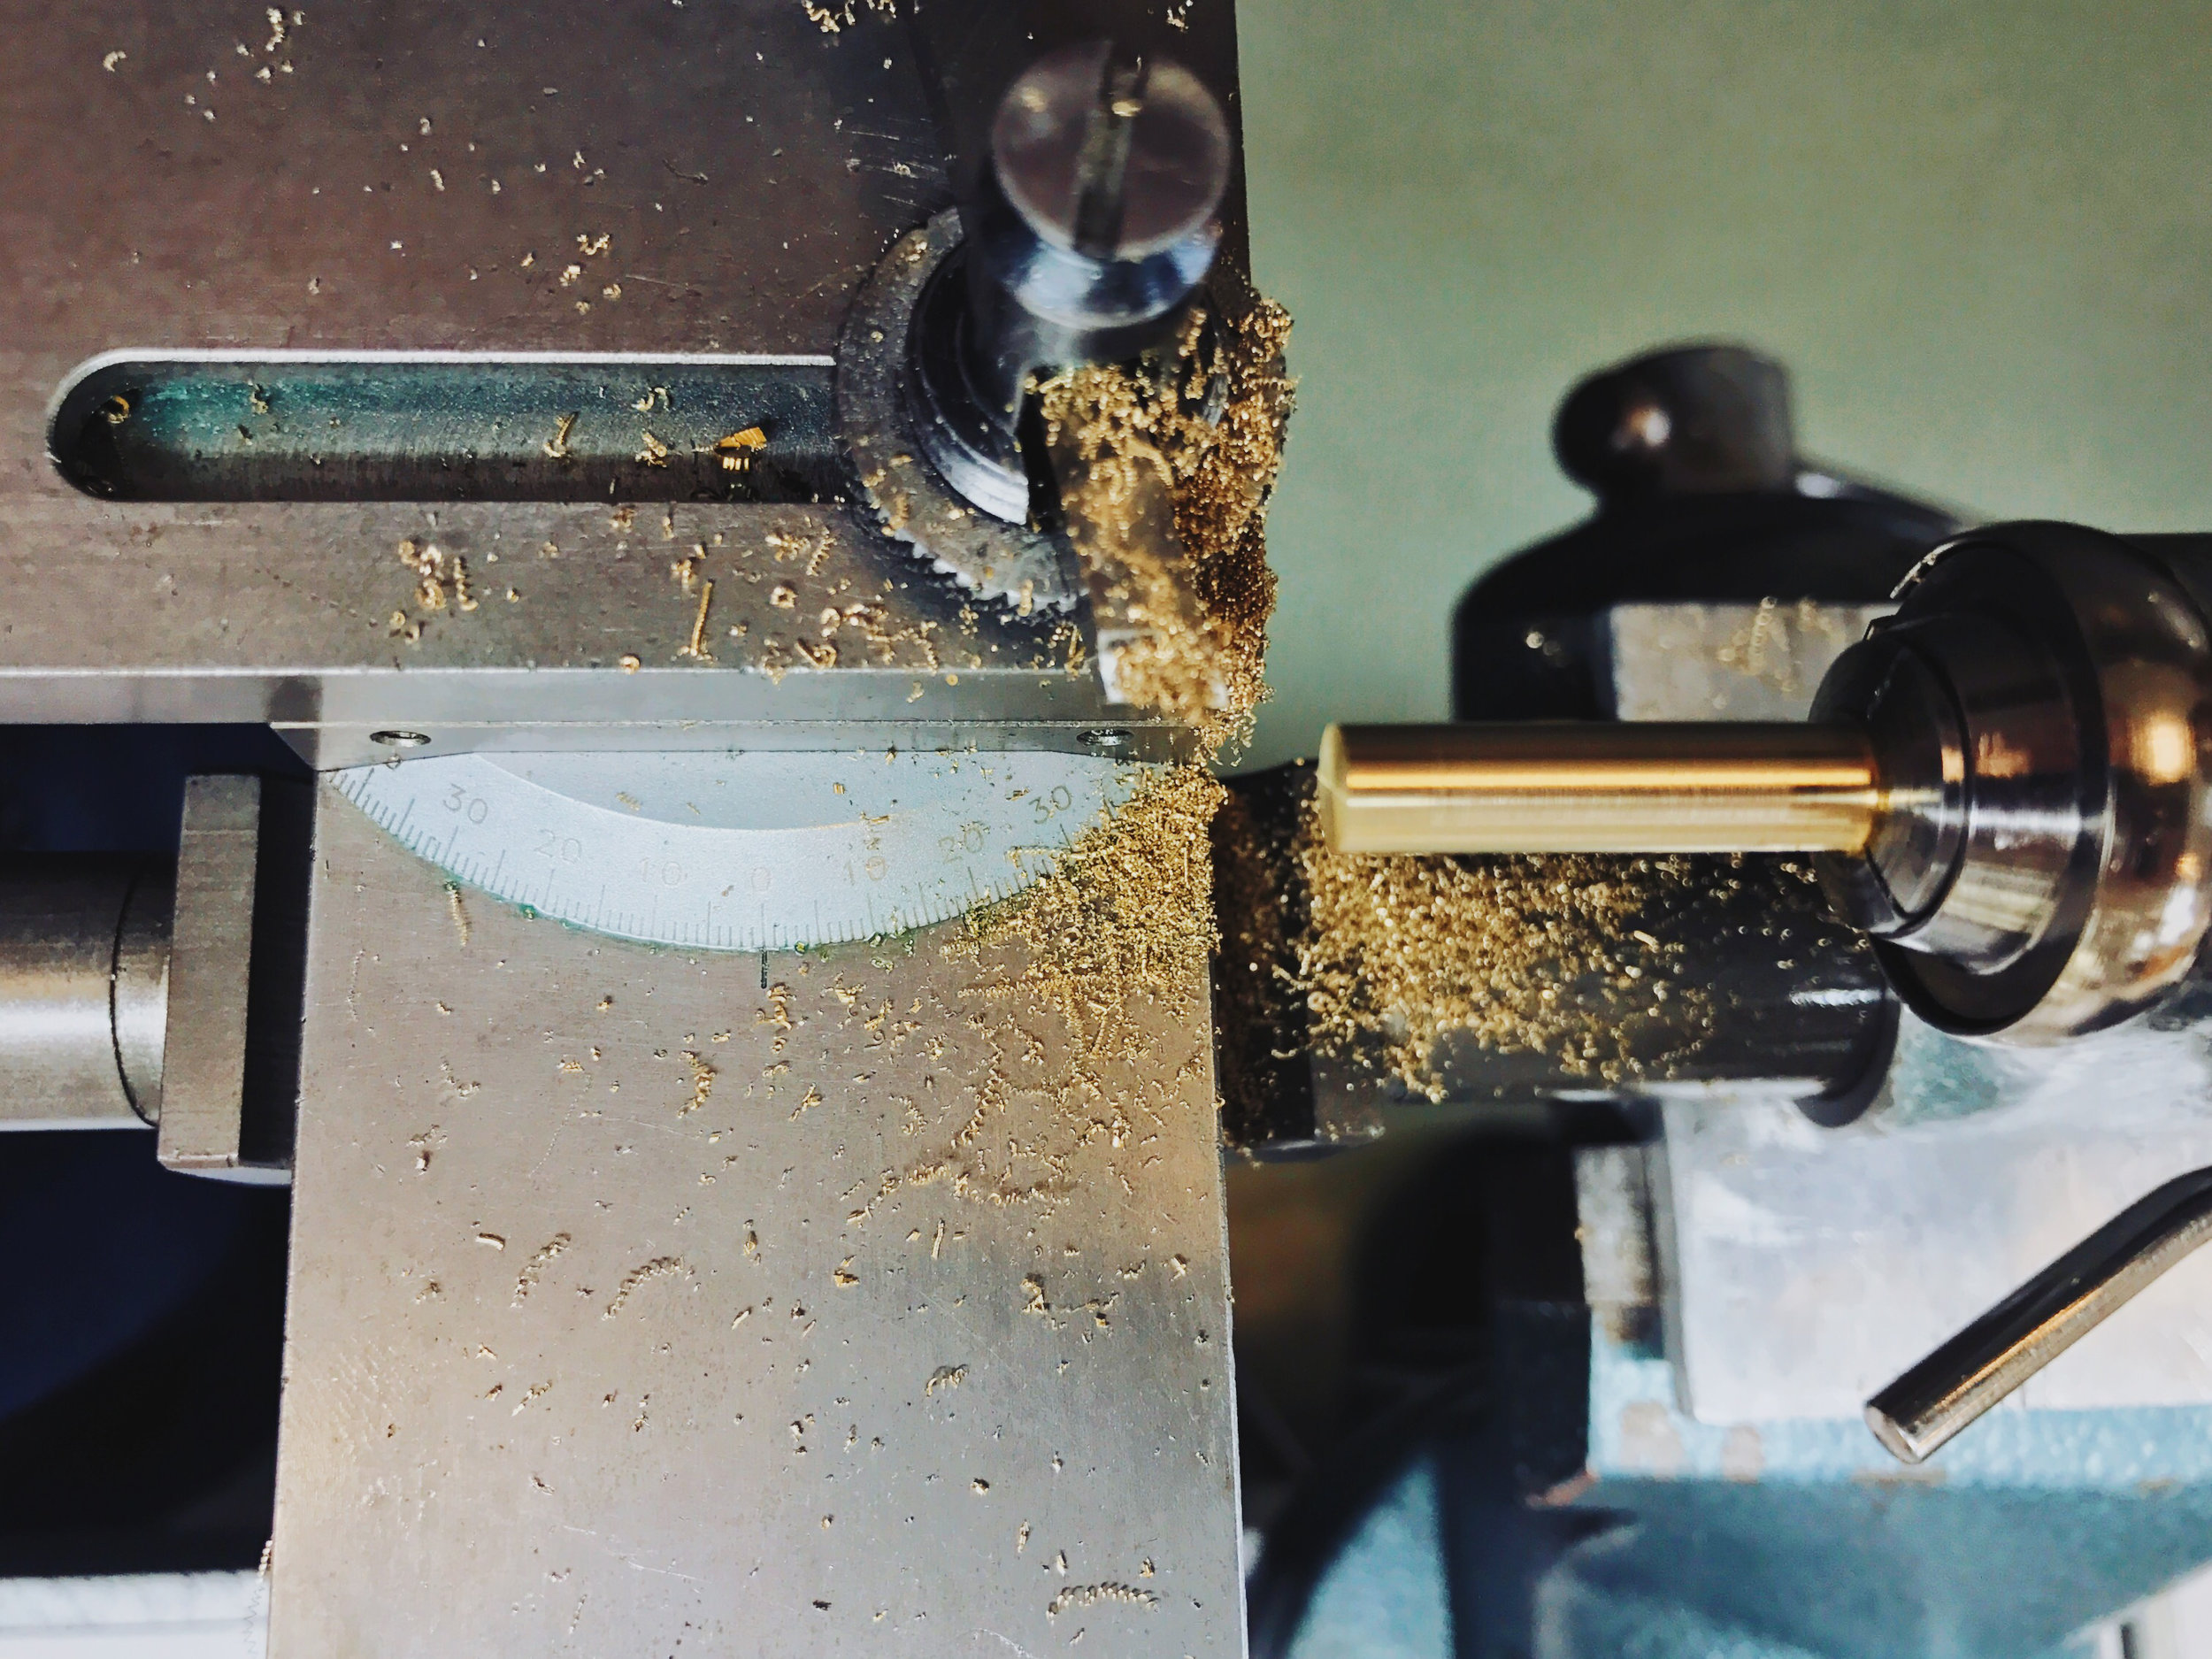
The cross slide can rotate on the X axis, and if it's not set up correctly, your "cylinders" will be anything but.
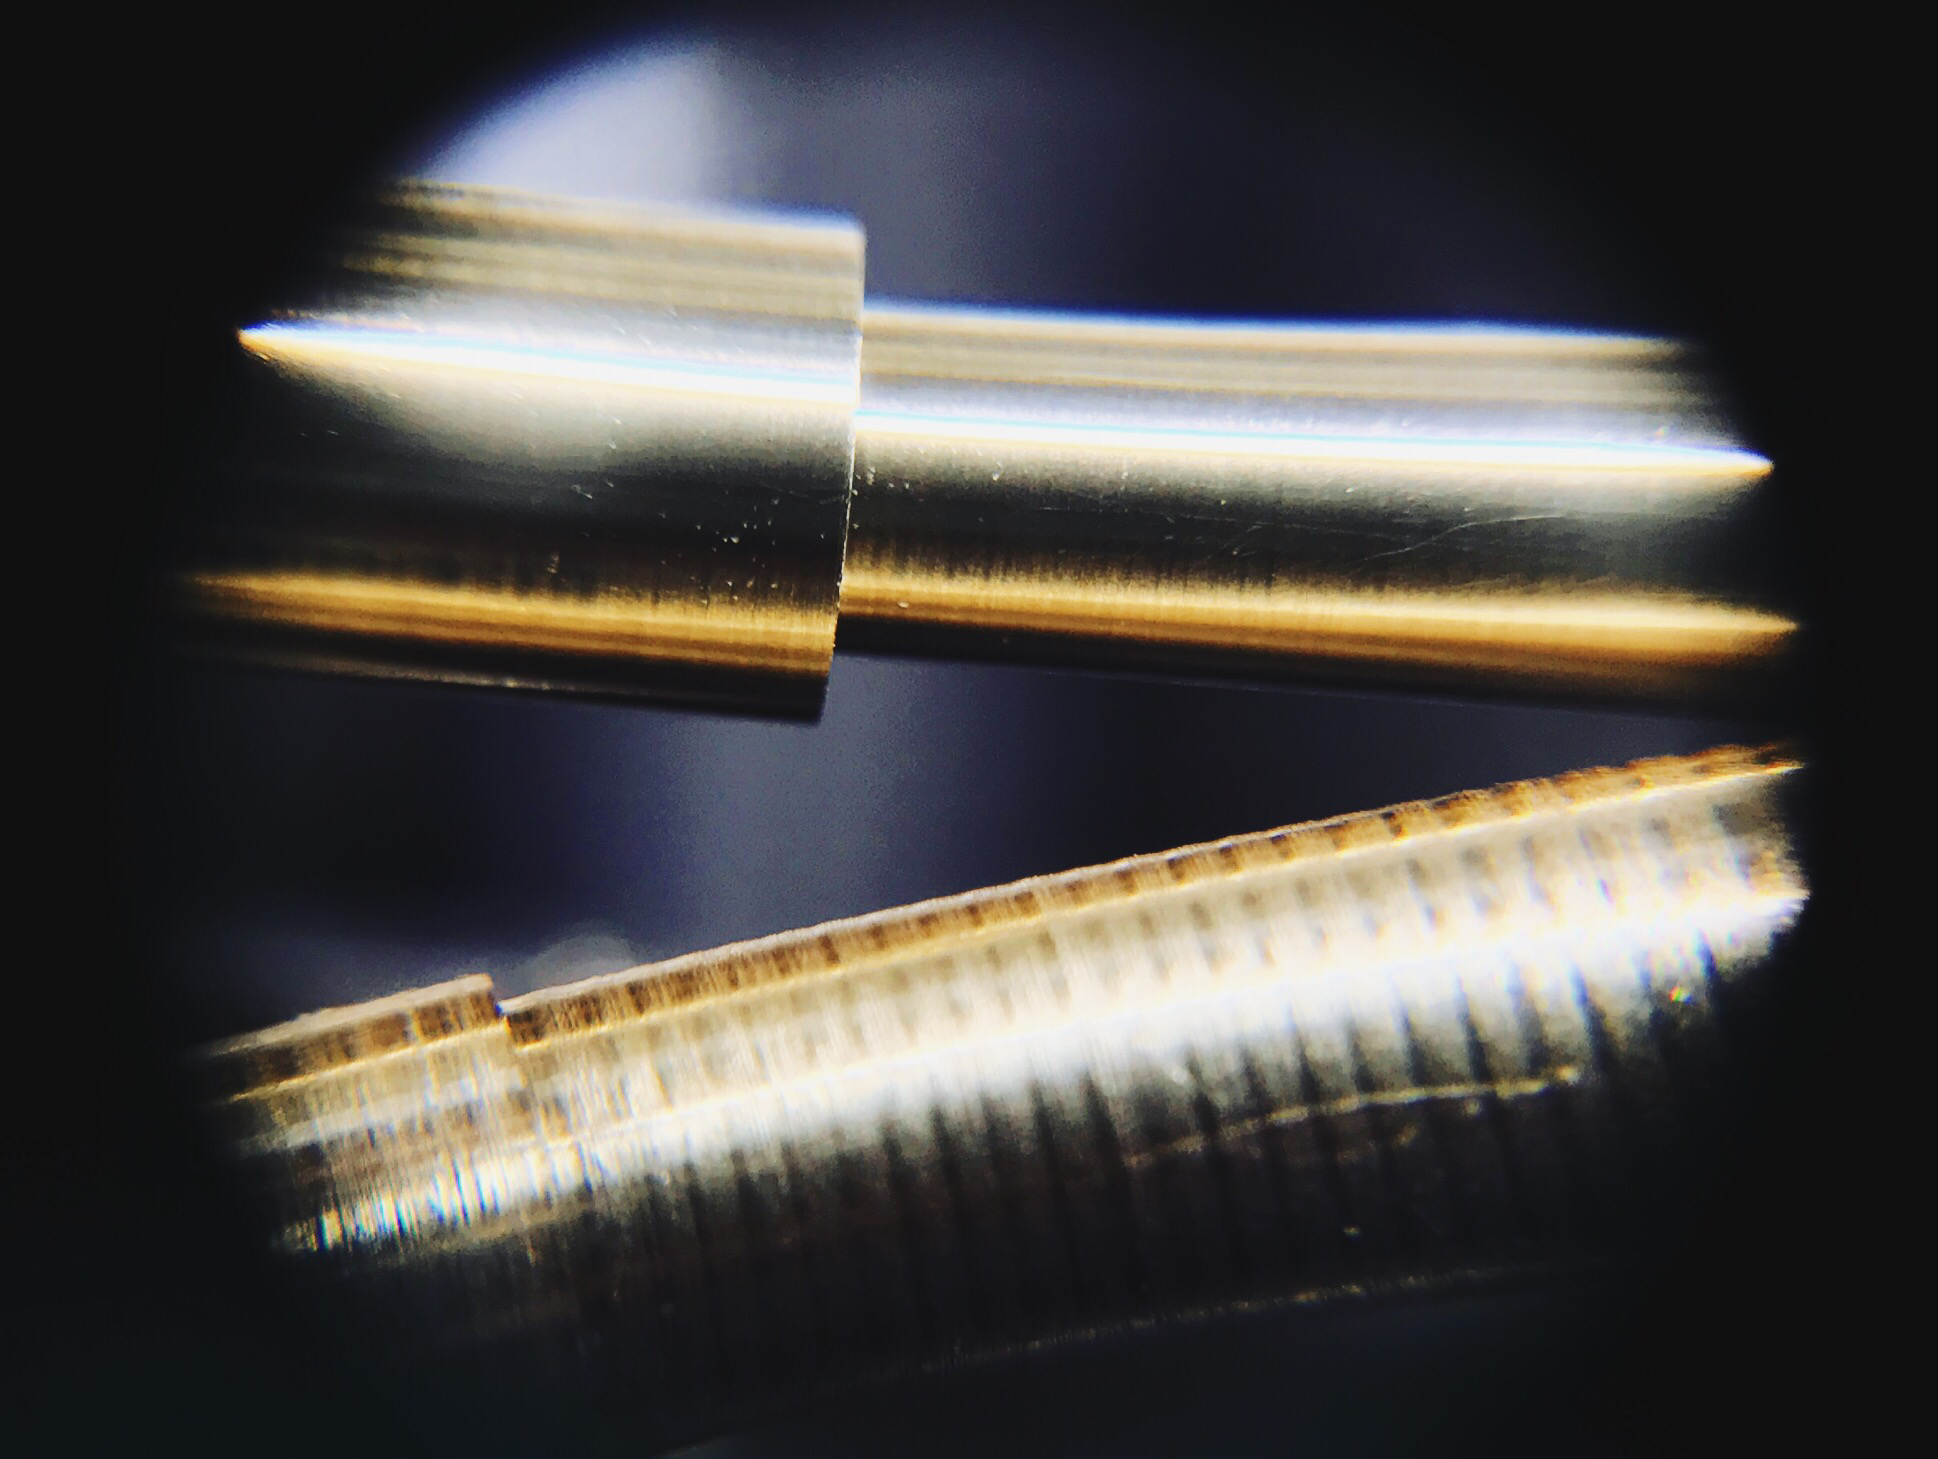
We have a major exam coming up, so it's time to recalibrate the cross slide to cut true. The tolerance is a 0.02 mm taper over 20 mm, which doesn't seem like a lot until you remember that the general LWT tolerance for cylinders is +/- 0.03 mm—and we'll be cutting cylinders almost 40 mm long! Even a taper within tolerance will be risky.
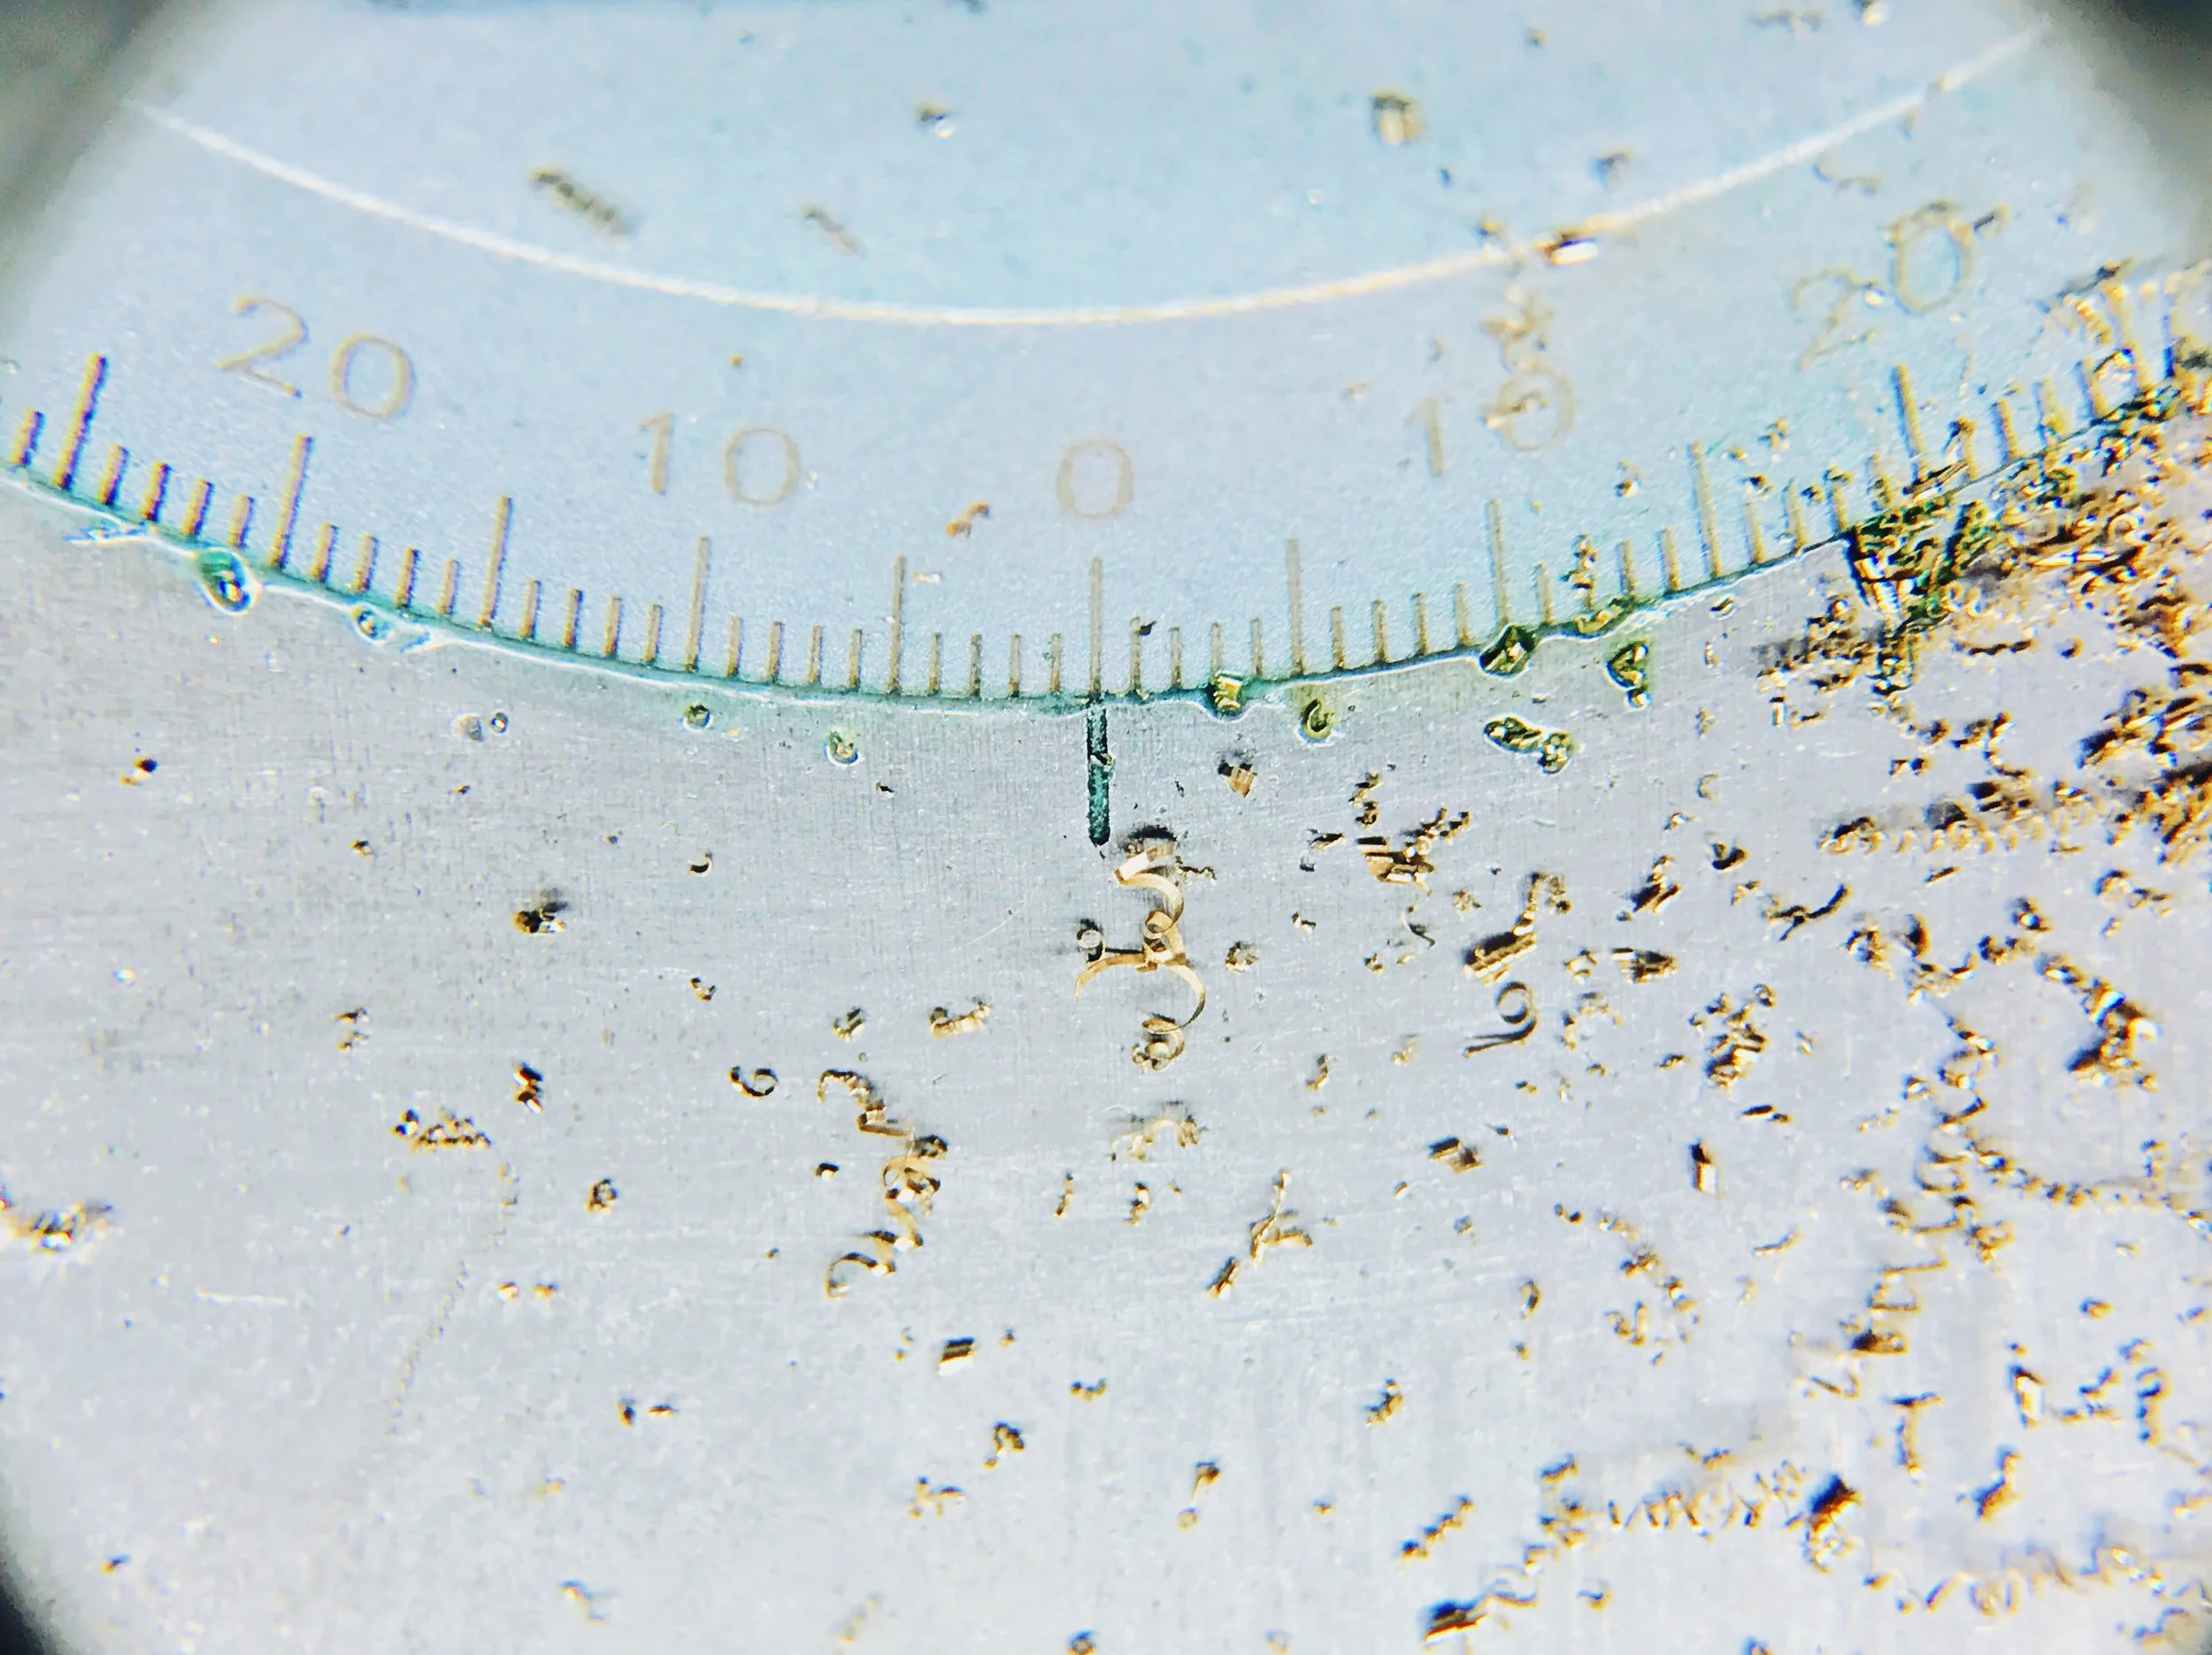
Our lathes are very nice, but have had 16 years of hard and constant use, so the 0° line on our taper gauge doesn't necessarily mean what it used to. It takes a fair amount of guess-and-test to properly calibrate the cross slide to find the true 0° mark. On my lathe, that's slightly (slightly!) to the side of the 0° witness line—on other lathes, it could be something else entirely.
Verifying tapers is a critical part of any machining operation. In cases that you're cutting a friction fit component, even 0.01 mm variance can make the difference between passing and failing. Never take your equipment for granted!
Watchmaking student at the Lititz Watch Technicum, formerly a radio and TV newswriter in Chicago.

